
If you’ve ever tried to capture an entire web page—maybe a competitor’s endless landing page, a long-form report, or a legal notice that scrolls for miles—you know the pain of piecing together a dozen screenshots like a digital jigsaw puzzle. I’ve been there, and let me tell you: it’s about as fun as assembling IKEA furniture without instructions. That’s why tools like the GoFullPage Extension have become a staple for business users who need more than just a quick “print screen.” But what exactly is GoFullPage, and how does it stack up against other screenshot tools? And—if you’re like me and want more than just a pretty picture—what are its limits when it comes to turning web content into actionable data?
Let’s dig into what makes GoFullPage a favorite for sales, marketing, and operations teams, where it shines, where it falls short, and how it fits into a modern workflow alongside AI-powered data extraction tools like .
GoFullPage Extension: What Is It and Why Does It Matter?
The is a lightweight Chrome add-on designed to do one thing extremely well: capture a full-length screenshot of any web page—not just the part you can see, but the entire scrollable content, top to bottom. With over 9 million users on Chrome alone, it’s clear that this isn’t just a niche tool for pixel-perfectionists. It’s become an essential part of business workflows for anyone who needs to archive, share, or document web content in its entirety ().
Here’s how it works: you click the GoFullPage icon (or use the shortcut Alt+Shift+P), and the extension automatically scrolls through the page, stitching together a seamless screenshot. Within seconds, you get a new browser tab with the full-page capture, ready to save as a PNG, JPEG, or PDF (). No more manual scrolling, no more missing sections, and no more Frankensteining images together in Photoshop.
What sets GoFullPage apart is its reliability and simplicity. It doesn’t require special permissions, inject ads, or clutter your browser. It just does what it promises: a true, full-page screenshot, every time ().
GoFullPage Extension vs. Traditional Screenshot Tools
Let’s clear up a common misconception: GoFullPage isn’t just another screenshot tool. Most built-in screenshot functions—like hitting Print Screen, Snipping Tool, or even Chrome’s basic screenshot—only capture what’s visible on your screen. If you want the whole page, you’re stuck scrolling, snapping, and then manually piecing images together. Not exactly a recipe for productivity.
Here’s how GoFullPage stacks up against traditional screenshot tools:
| Feature | GoFullPage Extension | Traditional Screenshot Tools |
|---|---|---|
| Capture Scope | Entire scrollable webpage (even beyond the visible area) (Greyphin Blog) | Visible screen area only |
| Scrolling Automation | Yes—auto-scrolls and stitches the page (Chrome Web Store) | No—manual scrolling and multiple screenshots required |
| Export Options | PNG, JPEG, PDF (Chrome Web Store) | Typically PNG/JPEG; PDF requires extra steps |
| Annotation/Editing | Basic built-in editor (premium) (Chrome Web Store) | Varies—often requires third-party apps |
| Dynamic Content Handling | Handles sticky headers, iframes, scroll boxes (Chrome Web Store) | Often struggles with dynamic page elements |
| Ease of Use | One-click, instant full-page capture (Chrome Web Store) | Time-consuming, manual, error-prone |
For business users, these differences aren’t just nice-to-haves—they’re workflow game-changers. Imagine a marketing manager who needs to archive a competitor’s landing page for a quarterly report. With GoFullPage, it’s a single click and done. With traditional tools, it’s a half-hour of frustration and a patchwork of images that never quite line up.
Key Use Cases: Why Sales and Marketing Teams Rely on Full-Page Capture
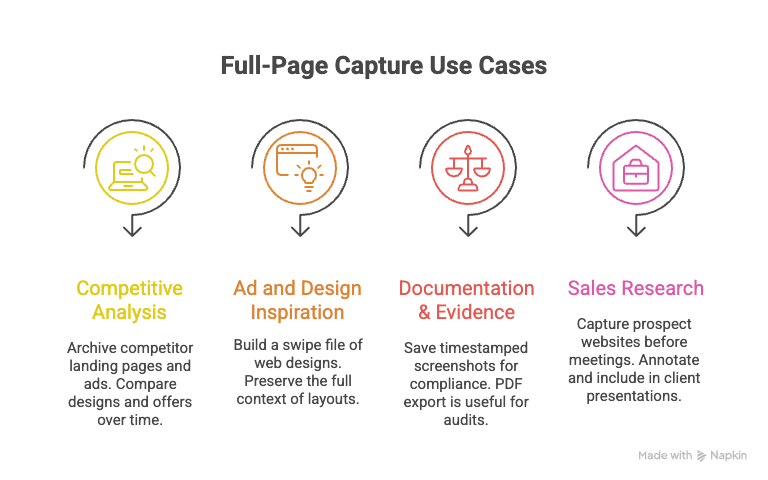
So, who really benefits from GoFullPage? In my experience, it’s the sales, marketing, and operations folks who need to capture web content as it actually appears—graphics, layout, and all. Here’s where full-page capture shines:
- Competitive Analysis (Marketing): Archive entire landing pages, product listings, or ad creatives from competitors. This makes it easy to compare messaging, design, and offers over time ().
- Ad and Design Inspiration (Creative): Build a swipe file of great web designs or ad layouts, preserving the full context—not just a cropped section ().
- Documentation & Evidence (Operations/Legal): Save timestamped screenshots for compliance, legal disputes, or internal records. A PDF export is especially handy for audits or regulatory filings ().
- Sales Research and Client Pitches (Sales): Capture a prospect’s website or pricing page before a meeting, annotate it, and include it in a presentation or client dossier.
Here’s a quick breakdown of how different teams use full-page screenshots:
| Team/Role | Use Case | How Full-Page Screenshot Helps |
|---|---|---|
| Marketing | Archive competitor pages & ads | Visual record for analysis and reporting |
| Sales | Capture prospect info pages | Shareable, annotated images for pitches and internal reviews |
| Operations/Legal | Document web content for records | Timestamped, unaltered evidence for compliance or disputes |
| Design/Creative | Save design inspiration | Complete context for mood boards or redesigns |
| Product Management | UI/UX documentation | Track interface changes release over release |
The one-click export to PNG, JPEG, or PDF is a huge time-saver. No more fiddling with print-to-PDF or screenshot stitching—just grab, save, and share.
Limitations of GoFullPage Extension: When Screenshots Aren’t Enough
Now, here’s where things get interesting. As much as I love a good screenshot, there’s a hard limit to what GoFullPage (or any screenshot tool) can do. At the end of the day, a screenshot is just a static image. It’s great for visual reference, but if you need to actually use the information—like extracting a list of contacts, SKUs, or prices—you’re out of luck.
- No Structured Data: You can’t copy-paste a table of leads or prices from a PNG or PDF. If you want that data in a spreadsheet, you’re stuck retyping it or running it through OCR (which is, frankly, a nightmare for accuracy) ().
- Static & Unchangeable: Screenshots capture a moment in time. If the page updates, you have to recapture. There’s no way to track changes or automate monitoring.
- Not Searchable or Machine-Readable: You can’t filter, sort, or analyze screenshot content without a lot of manual work.
- Context Loss for Data Extraction: If you’re interested in the underlying information (not just how it looks), screenshots fall short. You’re capturing pixels, not data.
This is a real pain point for sales and ecommerce teams who need to turn web content into actionable, structured information.
Beyond Screenshots: Structured Data Extraction with Thunderbit
This is where comes in. Instead of just capturing how a page looks, Thunderbit is an AI-powered web scraper that extracts the actual content—names, prices, emails, product specs—and turns it into a structured table, ready for export to Excel, Google Sheets, Airtable, or Notion.
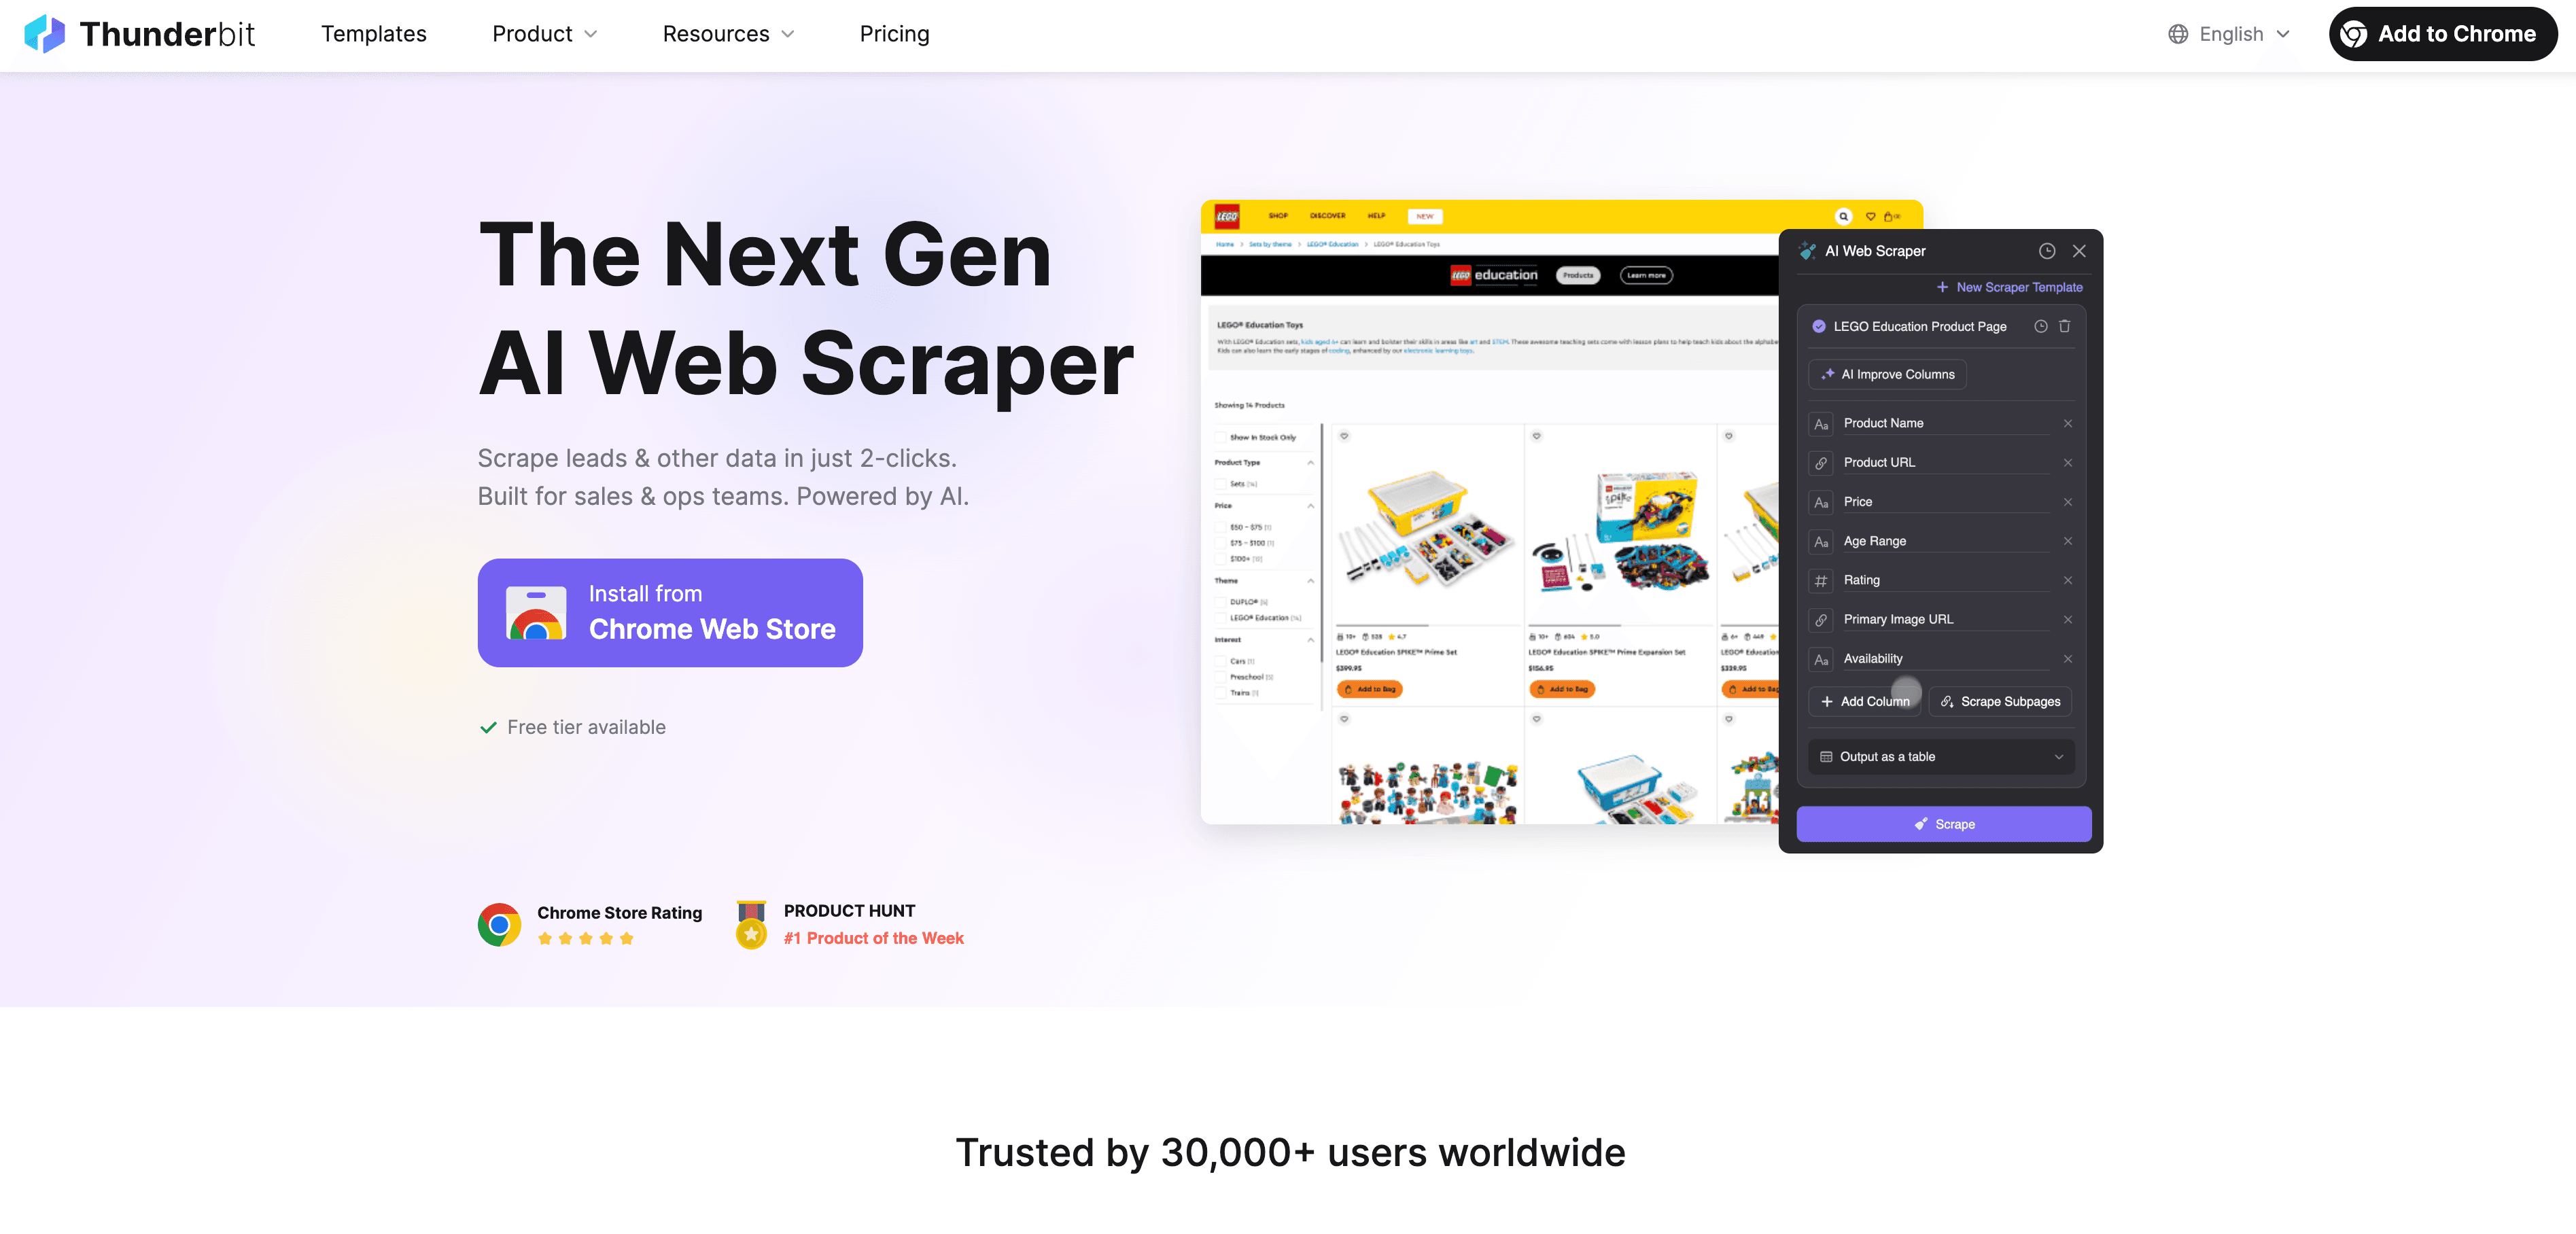
How does it work? You open the page, click the Thunderbit extension, and let the AI suggest which fields to extract. With just a couple of clicks, you get a fully structured dataset—no coding, no templates, no manual copy-pasting ().
Thunderbit’s AI can even handle subpage scraping (visiting each product or contact page and pulling extra details), scheduled scraping (for ongoing monitoring), and instant templates for popular sites. It’s a massive productivity boost for anyone who needs to turn web content into actionable data—especially sales, ecommerce, and real estate teams ().
GoFullPage Extension and Thunderbit: A Powerful Combination for Business
Here’s the thing: it’s not about picking one tool over the other. The smartest teams I know use both GoFullPage and Thunderbit, each for what it does best.
- Need a visual archive or design reference? GoFullPage is your go-to.
- Need to extract data, build a lead list, or monitor prices? Thunderbit is the answer.
Here’s a quick decision table:
| Scenario | Use GoFullPage (Visual) | Use Thunderbit (Data) |
|---|---|---|
| Show exactly how a webpage looked | ✔️ | ❌ |
| Extract a list of items or text from a webpage | ❌ | ✔️ |
| Track content changes over time | Possible, but manual | ✔️ (with scheduling) |
| Record for legal/compliance purposes | ✔️ | Possible (text only) |
| Share a webpage in a report or slide deck | ✔️ | ❌ |
| Integrate web data into CRM/analytics | ❌ | ✔️ |
By combining both, you get the best of both worlds: visual evidence for reports and presentations, and structured data for analysis and automation.
The Shift from Static Screenshots to AI-Driven Web Intelligence
There’s a bigger trend at play here. Businesses are moving from static archiving (screenshots, PDFs) to dynamic, AI-driven web intelligence. According to recent research, 72% of companies now use AI in at least one business function, and web data collection is a prime area for automation ().
Instead of just saving what a page looked like, teams want to extract, analyze, and act on web data in real time. AI-powered tools like Thunderbit are making this possible for everyone—not just developers or data scientists. The result? Faster decisions, richer insights, and a lot less time spent on manual drudgery.
If you’re still spending hours on screenshots and copy-paste, it might be time to rethink your workflow.
Getting Started: How to Use GoFullPage Extension
Ready to give GoFullPage a spin? Here’s how to get started:
- Install the Extension: Head to the and click “Add to Chrome.” You’ll see a blue camera icon appear in your browser toolbar.
- Pin the Extension (Optional): For easy access, click the puzzle piece icon, find GoFullPage, and pin it to your toolbar.
- Capture a Full-Page Screenshot: Navigate to the page you want to capture, click the GoFullPage icon (or use Alt+Shift+P), and let it scroll. Don’t touch the mouse or keyboard while it’s working!
- View and Export: Once done, a new tab opens with your screenshot. You can scroll, zoom, and download as PNG, JPEG, or PDF. Drag the image directly into emails or documents for quick sharing.
- Annotate or Edit (Premium): If you upgrade, you get built-in tools for cropping, adding notes, and more.
- Troubleshooting: If you hit a snag (like sticky headers repeating), try refreshing the page or tweaking settings. For very long pages, GoFullPage may split the screenshot into multiple files.
It’s really that simple: click, wait, save. Once you get the hang of it, you’ll wonder how you ever lived without it ().
Conclusion: Choosing the Right Tool for Your Business Needs
GoFullPage is the gold standard for full-page screenshots—quick, reliable, and perfect for visual archiving, reporting, and design inspiration. But when you need to turn web content into structured, actionable data, you’ll want to bring in a tool like . The real magic happens when you use both: capture the visuals you need, extract the data you want, and supercharge your workflow.
If you haven’t tried GoFullPage, give it a whirl on your next long web page. And if you’re ready to move beyond screenshots, check out for a taste of what AI-powered data extraction can do. For more tips on web automation and data scraping, swing by the .
Happy capturing—and may your screenshots always be tall enough for the job.
FAQs
1. What is the GoFullPage Extension?
GoFullPage is a Chrome extension that captures an entire web page—including everything below the fold—in a single screenshot. It auto-scrolls, stitches the page together, and lets you export as PNG, JPEG, or PDF ().
2. How is GoFullPage different from regular screenshot tools?
Unlike standard screenshot tools that only capture the visible area, GoFullPage grabs the entire scrollable content in one click, saving you from manual scrolling and stitching ().
3. What are the main use cases for GoFullPage?
It’s perfect for archiving competitor landing pages, saving ad creatives, documenting web evidence for compliance, and capturing design inspiration—especially for sales, marketing, and operations teams ().
4. Can GoFullPage extract data from web pages?
No—GoFullPage only creates static images. If you need to extract structured data (like tables, contacts, or prices), you’ll need a tool like that can turn web content into spreadsheets.
5. Should I use GoFullPage or Thunderbit for my workflow?
Use GoFullPage when you need a visual snapshot or record of a page. Use Thunderbit when you need to extract, analyze, or automate web data. Most business teams benefit from using both together for maximum efficiency.
Want to see how Thunderbit can help you move from screenshots to smart data? and start transforming your web workflows today. And don’t forget to check out the for more guides and insights.
Learn More: