
The demand for high-quality labeled data in machine learning has never been higher. Every time I talk to teams building new AI models—whether for sales forecasting, product recommendations, or customer sentiment analysis—the same pain points come up: labeling data by hand is slow, expensive, and, frankly, a little soul-crushing. I’ve seen projects stall for weeks (or months) just waiting for enough labeled examples to train a decent model. And when the labels aren’t consistent? Well, let’s just say your model’s predictions can end up about as reliable as my attempts at parallel parking.
But here’s the good news: automated data labeling with machine learning is changing the game. By letting AI handle the heavy lifting, businesses are not only speeding up the labeling process, but also boosting accuracy and consistency—two things that can make or break your ML project. In this guide, I’ll walk you through how automated data labeling works, why it’s so critical for building robust models, and how you can use tools like to set up your own automated labeling workflow—no coding required.
What is Automated Data Labeling with Machine Learning?
Let’s break it down. Automated data labeling with machine learning means using algorithms and AI tools to assign labels (like “spam” or “not spam,” “cat” or “dog,” “positive” or “negative”) to your raw data—without a human having to click through every single example. Think of it like the difference between tagging thousands of vacation photos by hand versus using facial recognition to automatically sort them by person, location, or even mood.
Traditional manual labeling is just what it sounds like: people reviewing data one item at a time and assigning the correct label. It’s accurate (sometimes), but slow, expensive, and hard to scale. Automated labeling, on the other hand, uses machine learning models—trained on a smaller set of manually labeled data—to predict labels for the rest of your dataset. The result? Faster, more consistent, and more scalable labeling ().
For business users, this means you can build better models, faster, and with less manual grunt work. And in today’s data-driven world, that’s a serious competitive edge.
Why Automated Data Labeling Is Key to High-Quality Machine Learning Models
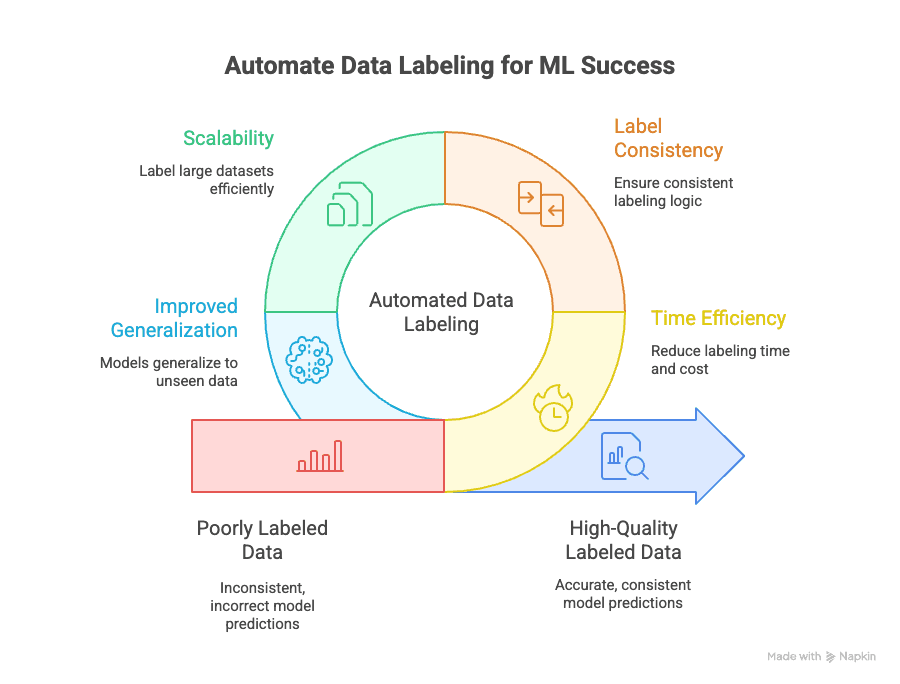
Here’s the thing: the quality of your labeled data directly impacts the performance of your machine learning models. As the saying goes, “garbage in, garbage out.” If your labels are inconsistent or incorrect, your model will learn the wrong patterns—and your predictions will suffer ().
Automated data labeling addresses several key challenges:
- Time Efficiency: Manual labeling can eat up of an ML project. Automation slashes this down to a fraction, letting you iterate and deploy models faster.
- Label Consistency: Machines don’t get tired or distracted. Automated labeling ensures that every data point is labeled using the same logic, reducing human error and bias ().
- Scalability: Need to label 10,000, 100,000, or even a million data points? Automation makes it possible—without hiring an army of annotators ().
- Improved Generalization: Consistent, high-quality labels help your models generalize better to new, unseen data, which is the ultimate goal in machine learning ().
And the business impact is real: poorly labeled data can reduce model accuracy by up to , while high-quality, automated labeling leads to quicker model development and deployment.
Comparing Manual vs. Automated Data Labeling
Let’s put it side by side:
| Factor | Manual Labeling | Automated Labeling with ML |
|---|---|---|
| Speed | Slow (weeks/months for large datasets) | Fast (minutes/hours for large datasets) |
| Accuracy | High, but prone to human error/inconsistency | High, with consistent logic and fewer errors |
| Scalability | Limited by human resources | Scales to millions of data points easily |
| Cost | Expensive (labor-intensive) | Lower long-term costs (Keylabs) |
| Best For | Small, complex, or ambiguous datasets | Large, repetitive, or well-defined datasets |
Manual labeling still has its place—especially for edge cases or ambiguous data—but for most business applications, automation is the way to go.
The Basic Steps of Automated Data Labeling with Machine Learning
So, how does automated data labeling actually work? Here’s the end-to-end workflow I recommend (and use myself):
- Data Collection and Preprocessing
- Feature Extraction and Preparation
- Automated Labeling Using Machine Learning
- Quality Assurance and Human Review
Let’s break down each step.
Step 1: Data Collection and Preprocessing
Before you can label anything, you need to gather and clean your data. This might mean scraping product listings from websites, exporting customer reviews, or collecting images from internal databases. The key here is quality: garbage data leads to garbage labels, which leads to garbage models ().
Best practices:
- Remove duplicates and irrelevant entries
- Standardize formats (dates, currencies, etc.)
- Handle missing or incomplete data
Step 2: Feature Extraction and Preparation
Next, you identify the features that matter for your labeling task. For example, if you’re labeling product listings, you might extract attributes like price, brand, category, and description. In sales or marketing, this could mean pulling out company names, contact info, or sentiment from emails.
Business example: Using , you can scrape structured data from web pages—like product specs, reviews, or contact details—without writing a single line of code.
Step 3: Automated Labeling Using Machine Learning
Here’s where the magic happens. You use machine learning models (trained on a smaller, manually labeled dataset) to predict labels for the rest of your data. Common techniques include:
- Supervised Models: Train a classifier on labeled examples, then use it to label new data.
- Rule-Based Labeling: Use predefined rules (e.g., “if price > $1000, label as ‘premium’”) for simple cases.
- Active Learning: The model asks for human input on uncertain cases, improving over time ().
- Transfer Learning: Use pre-trained models to jumpstart labeling in new domains ().
The result? Consistent, high-quality labels—at scale.
Step 4: Quality Assurance and Human Review
Even the best models need a sanity check. Periodic human review helps catch edge cases, ambiguous data, or model drift. Practical QA steps include:
- Randomly sample labeled data for manual review
- Compare automated labels to a “gold standard” set
- Use inter-annotator agreement metrics to measure consistency ()
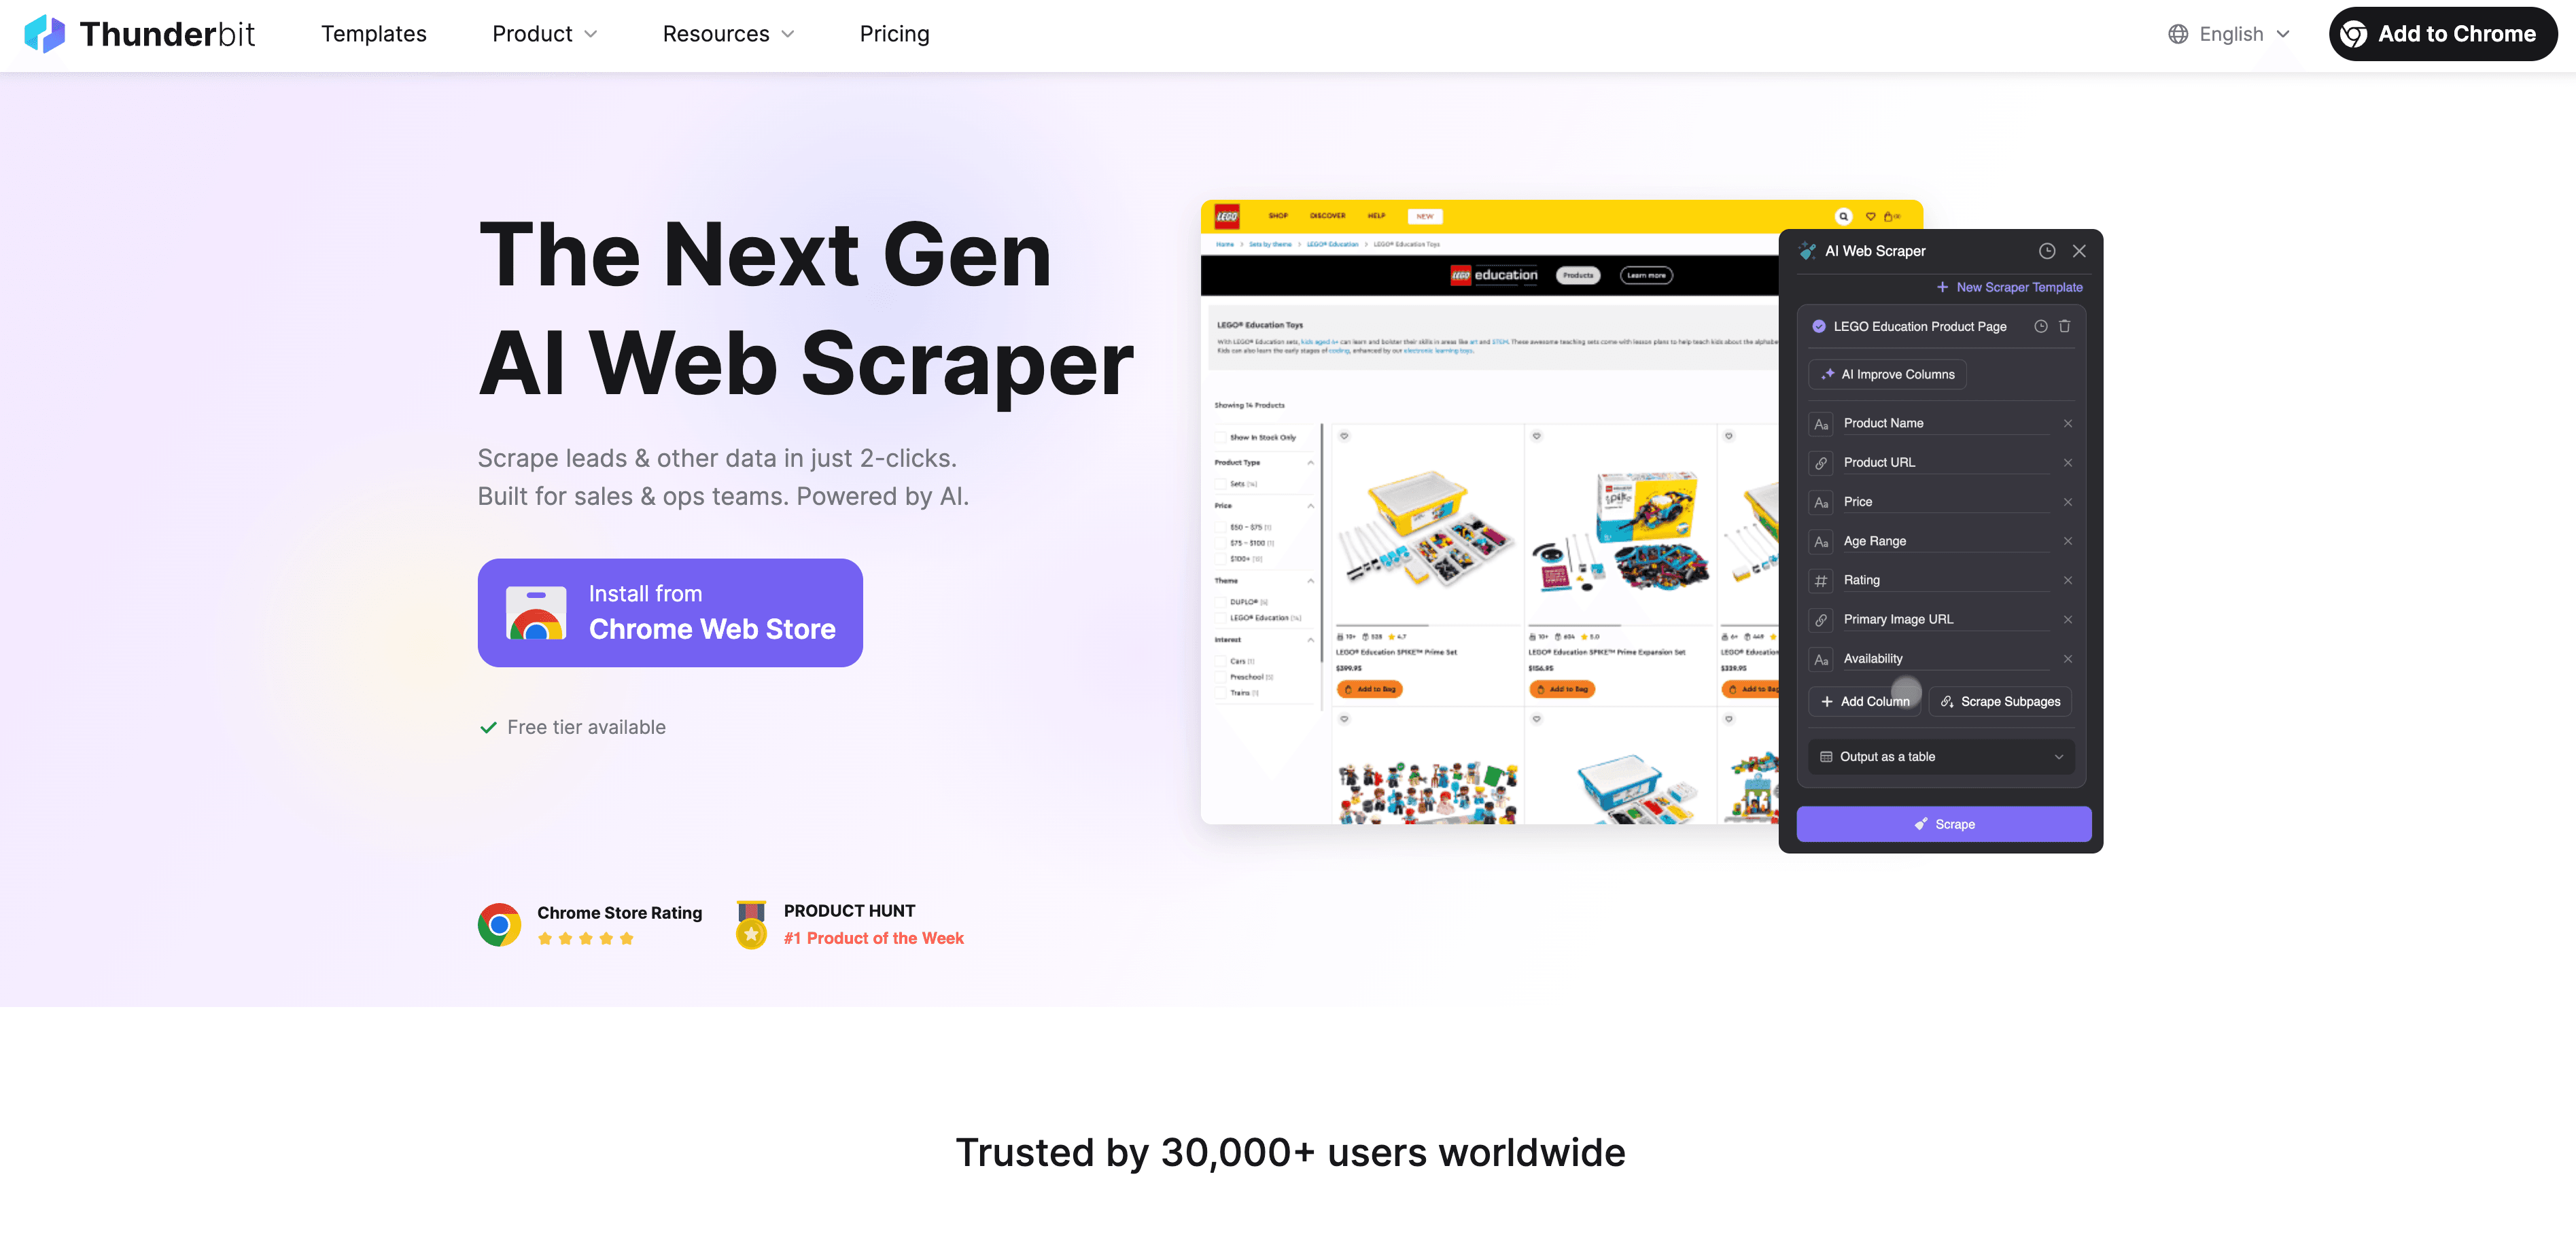
How to Use Thunderbit for Automated Data Labeling with Machine Learning
Now, let’s get hands-on. is an AI-powered web scraper and data labeling tool designed for business users—no coding required. Here’s how you can use it to automate your data labeling workflow:
Step-by-Step Guide
- Scrape Website Data: Use the to collect structured data from any website. Just open the extension, select your data source, and let Thunderbit’s AI suggest the best fields to extract.
- Define Label Instructions: Use Thunderbit’s natural language prompts to tell the AI how to label your data. For example, “Label all products over $500 as ‘premium’” or “Tag reviews with positive sentiment.”
- Apply Automated Labeling: Thunderbit’s Field AI Prompt feature lets you customize and refine how labels are assigned—perfect for multi-field or complex labeling tasks.
- Export Labeled Data: Once your data is labeled, export it directly to Excel, Google Sheets, Airtable, or Notion—ready for model training or analysis.
The best part? Thunderbit is built for non-technical users in sales, marketing, operations, and beyond. You don’t need to write a single line of code or wrestle with complex templates.
Thunderbit’s Natural Language Prompts and Field AI Features
One of my favorite features is the ability to define label logic in plain English. Want to categorize leads by region, tag products by category, or flag emails with urgent language? Just describe what you want, and Thunderbit’s AI will handle the rest.
Example prompts:
- “Label all contacts with a ‘.edu’ email as ‘Education’ segment.”
- “If the review mentions ‘fast shipping’, tag as ‘Positive Shipping Experience’.”
- “Group products by brand and price range.”
Thunderbit’s Field AI Prompt lets you get even more granular—customizing label logic for each column, combining rules, or even translating labels into multiple languages.
Subpage Scraping and Multi-Field Labeling
Complex data structures? No problem. Thunderbit’s subpage scraping feature lets you extract and label data from nested pages (like product details or author bios) and merge everything into a single, structured table. You can label multiple fields in one go—saving even more time.
Real-world use case: Scraping product listings from an ecommerce site, then following each product link to extract and label specs, reviews, and seller info—all in one workflow.
Integrating Multiple Data Labeling Tools for Greater Accuracy and Efficiency
While Thunderbit covers a ton of ground, sometimes you need specialized tools for certain data types—like image annotation or video labeling. That’s where platforms like or come in.
Pro tip: Use Thunderbit to handle web data extraction and initial labeling, then export your data to Label Studio or Supervisely for advanced annotation (like bounding boxes on images or frame-by-frame video tags). This multi-tool approach lets you play to each platform’s strengths, boosting both accuracy and efficiency ().
When to Use Specialized Tools Alongside Thunderbit
- Image Annotation: For tasks like object detection or segmentation, use Supervisely or Label Studio.
- Video Labeling: Specialized video tools handle frame-by-frame annotation and tracking.
- Complex Multi-Label Tasks: Combine Thunderbit’s structured data extraction with advanced annotation tools for best results.
Best practice: Start with Thunderbit for fast, scalable labeling of structured and semi-structured data, then bring in specialized tools as needed for deep annotation.
Best Practices for Automated Data Labeling with Machine Learning
Want to get the most out of your automated labeling workflow? Here are my top tips:
- Define clear label guidelines: Ambiguous labels lead to inconsistent data—be specific about what each label means.
- Start with a high-quality seed set: Manually label a small, representative sample to train your initial model.
- Iterate and improve: Use active learning to refine your model over time, focusing human review on the toughest cases.
- Validate regularly: Periodically review a random sample of labeled data to catch errors or drift.
- Integrate and automate: Use tools like Thunderbit to connect data collection, labeling, and export in a single workflow.
Common Challenges and How to Overcome Them
Automated data labeling isn’t without its hurdles. Here’s how to tackle the most common ones:
- Ambiguous Data: Use clear, detailed label definitions and provide examples for edge cases.
- Model Drift: Retrain your labeling model regularly with new, manually reviewed data.
- Edge Cases: Set up a process for human review of uncertain or novel data points.
- Integration Issues: Choose tools (like Thunderbit) that offer easy export to your preferred platforms.
Conclusion & Key Takeaways
Automated data labeling with machine learning is the secret sauce behind today’s most effective AI models. It saves time, cuts costs, and—most importantly—delivers the consistent, high-quality labels your models need to perform at their best. By combining tools like with specialized annotation platforms, you can build a labeling workflow that’s fast, accurate, and scalable—no matter your technical background.
Ready to see the difference for yourself? , try out automated labeling on your next project, and watch your machine learning models get smarter, faster. And if you’re hungry for more tips and best practices, check out the for deep dives and tutorials.
FAQs
1. What is automated data labeling with machine learning?
It’s the process of using AI and ML models to assign labels to data automatically, rather than having humans do it by hand. This approach speeds up labeling, improves consistency, and scales to large datasets.
2. Why does labeling quality matter for machine learning?
High-quality, consistent labels are essential for training accurate models. Poor labeling can reduce model accuracy by up to 80% and lead to unreliable predictions.
3. How does Thunderbit help with automated data labeling?
Thunderbit lets you scrape and label web data using AI, with natural language prompts and customizable field logic—no coding required. It’s ideal for business users in sales, marketing, and operations.
4. Can I combine Thunderbit with other labeling tools?
Absolutely. Use Thunderbit for structured data extraction and initial labeling, then export to tools like Label Studio or Supervisely for advanced image or video annotation.
5. What are the best practices for automated data labeling?
Define clear label guidelines, start with a quality seed set, iterate with active learning, validate regularly, and use integrated tools to streamline your workflow.
Ready to automate your data labeling and supercharge your machine learning projects? Give Thunderbit a try and see how much time—and frustration—you can save.
Learn More: